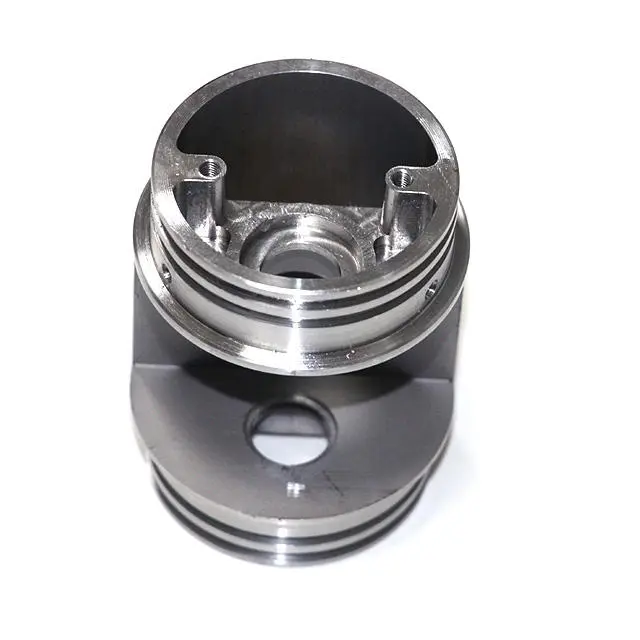
What is Surface Finish and Why is it Important?
Surface finish refers to the texture of a component’s surface, impacting both its appearance and performance.
- Aesthetic Value: A smooth surface often correlates with a higher quality perception.
- Functional Performance: Impacts factors like friction and wear, adhesion, and corrosion resistance.
- Measurement Importance: Quantifying surface finish is vital for ensuring that manufacturing specifications and tolerances are met.
In industries such as aerospace and medical devices, achieving the desired surface finish is critical to meeting functional requirements.
Understanding Surface Roughness and its Parameters
Surface roughness describes the fine, irregular deviations on a surface. This parameter is crucial for assessing the surface’s quality.
- Roughness Values: Expressed in terms of Ra (arithmetic average roughness) and Rz (average maximum height).
- Peaks and Valleys: Represents the irregularities on the surface, affecting the surface texture.
- Importance: Determines the suitability of a surface for specific applications, like ensuring parts fit together seamlessly in machinery.
Understanding surface roughness enables better control over production quality and performance.
How to Measure Surface Finish: Techniques and Tools
Measuring surface finish accurately is essential for quality assurance.
- Tactile Measurement: Involves a stylus that physically contacts the surface to trace and measure roughness profile.
- Non-Contact Methods: Use advanced technologies like optical and electron microscopy for precise measurement of roughness.
- Profilometers: Devices used to quantify surface texture and irregularities on the surface.
Techniques vary in their application and precision, catering to diverse manufacturing needs.
The Role of Ra and Rz in Surface Roughness Measurement
Ra and Rz are key parameters in defining surface roughness.
- Ra (Roughness Average): Represents the arithmetic average of surface deviations from the mean line.
- Rz (Average Maximum Height): Measures the distance between the highest peak and the deepest valley over a given length.
- Application: Different industries prioritize either Ra or Rz depending on the functional requirements of the end product.
Understanding these parameters facilitates better quality control and product development.
Common Tools for Surface Finish Measurement
Several tools are widely used in assessing surface finish.
Profilometers
- Contact Profilometers: Use a stylus that moves across the surface to measure surface roughness directly.
- Non-Contact Profilometers: Utilize laser or optical methods, providing high precision without physical contact.
Micrometers and Microscopy
- Micrometers: Measure small intervals with high accuracy, particularly useful where tactile methods are inappropriate.
- Microscopy: Advanced electron microscopy techniques provide detailed analysis of small fields and complex surface topography.
Selecting the right tool is crucial for obtaining accurate surface finish measurement.
How Does Surface Roughness Affect Product Quality?
Surface roughness significantly impacts the performance and durability of a product.
- Wear and Tear: Rough surfaces can accelerate abrasion and deterioration.
- Adhesion: Influences how coatings or adhesives bond to a surface.
- Friction: A rougher surface may increase friction, affecting the efficiency of moving parts.
Ensuring smooth surface finishes is integral to producing high-performance components.
Surface Finish in Different Manufacturing Processes
Various manufacturing processes yield different surface finishes.
- Machining Processes: Techniques like turning, milling, and grinding each produce unique surface characteristics.
- Additive Manufacturing: 3D printing techniques typically require post-processing to achieve desired finishes.
- Polishing and Buffing: Enhance surface texture and minimize surface roughness.
Tailoring the manufacturing process to achieve the desired surface profile is essential.
Exploring the Basics of Surface Finish Symbols and Terminology
Industry standards use symbols and terms to denote surface finish requirements.
- Symbols: Represent roughness parameters and acceptable surface roughness values.
- Terminology: Terms like peaks and valleys, smooth surface, and waviness describe specific aspects of surface texture.
- Usage: Ensures designers and engineers have a common understanding of surface finish requirements.
Proficiency with these symbols aids in clear communication of surface finish expectations.
Challenges in Achieving Desired Surface Finishes
Attaining precise surface finishes can present several challenges.
- Tool Wear: Deterioration of cutting tools can increase surface roughness over time.
- Material Variability: Differences in material properties may affect the consistency of the finish.
- Technical Limitations: Precision measurement techniques are required to achieve high-resolution and high-fidelity surface finishes.
Addressing these challenges involves selecting appropriate tools and processes tailored to specific applications.
FAQs About Surface Finish and Roughness
What is surface finish measurement?
Surface finish measurement quantifies the texture characteristics and deviation of a surface from its ideal state, essential for assessing product quality.
Why is surface roughness important?
Surface roughness impacts wear, adhesion, and friction, affecting a component’s functionality and lifespan.
What tools are used for measuring surface finish?
Common tools include profilometers, micrometers, and advanced microscopy, each suited to different measurement needs.
How do Ra and Rz differ in roughness measurement?
Ra provides the average roughness value, while Rz measures the difference between the highest peak and the deepest valley over a specified area.
Can all manufacturing processes achieve smooth surface finishes?
Not all processes yield smooth surfaces; post-processing techniques like polishing are often required to achieve the desired finish.
Key Takeaways
- Surface finish and roughness are critical aspects of product quality, influencing performance and aesthetics.
- Measurement techniques like profilometry and microscopy ensure components meet specified tolerances.
- Understanding Ra and Rz parameters aids in controlling surface roughness during production.
- Tools and techniques vary widely, each offering unique advantages for measuring surface texture.
- Challenges in achieving precise finishes require tailored solutions and expert insight.
For specialized insights and services in achieving optimal surface finishes, explore our Precision Machining Services. We also offer comprehensive solutions in CNC Machining and Surface Finishing to meet all your manufacturing needs.
Let us help you achieve the perfect surface finish. Contact us today to learn more about our capabilities.

